Настройка QNAP NAS MariaDB 5.5 для PaperOffice

Lukas Kuster
Создано: 06.01.2019 8:10 - Актуализировано: 27.09.2020 6:09
https://help-de.paperoffice.com/images/helpdesk/screenshots/en/0_qnap.jpg
Please note that this manual is explicitly about setting up the MariaDb 5.5 version.
In addition, we would like to point out that PaperOffice assumes no responsibility for the correctness and completeness of your facility on third-party software and hardware. Contact QNAP Support or use our paid support if you need help.
If you need help from our technicians, you can purchase support units directly here or use your PaperOffice Service Agreement. Contact your personal contact or, if you do not yet have a service agreement, you can complete it by sending an inquiry to sla_support@paperoffice.com.
The QNAP NAS setup is very simple and consists of 5 steps.
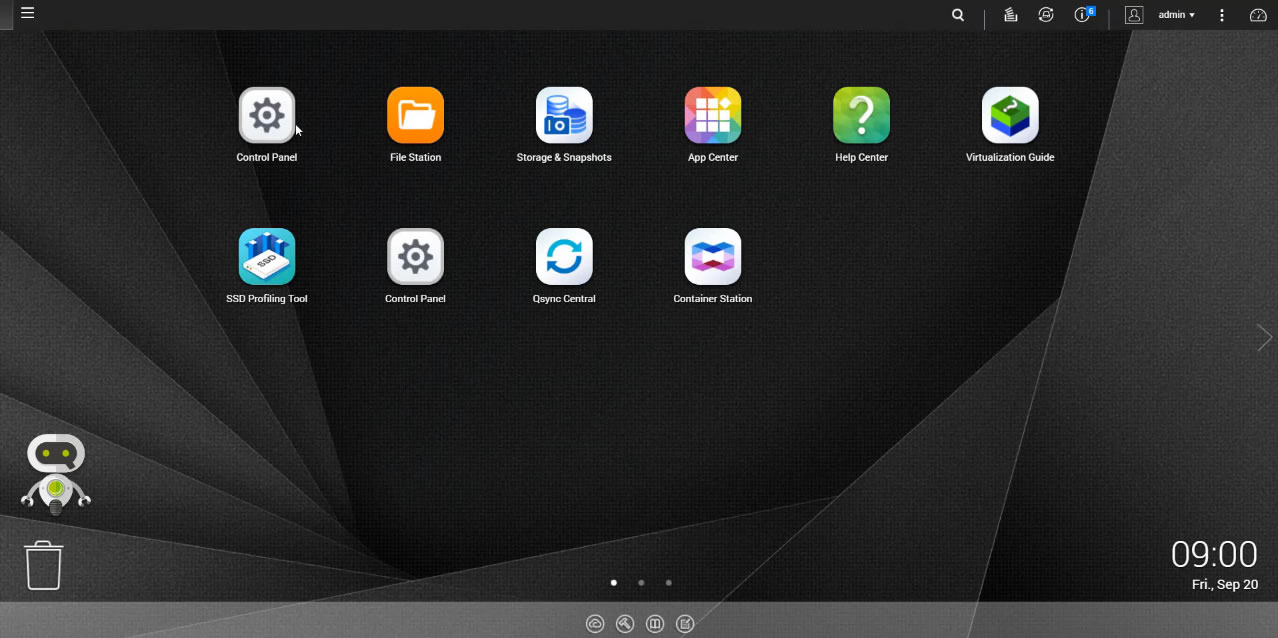
First: Start the QNAP QTS and then select "Control Panel".
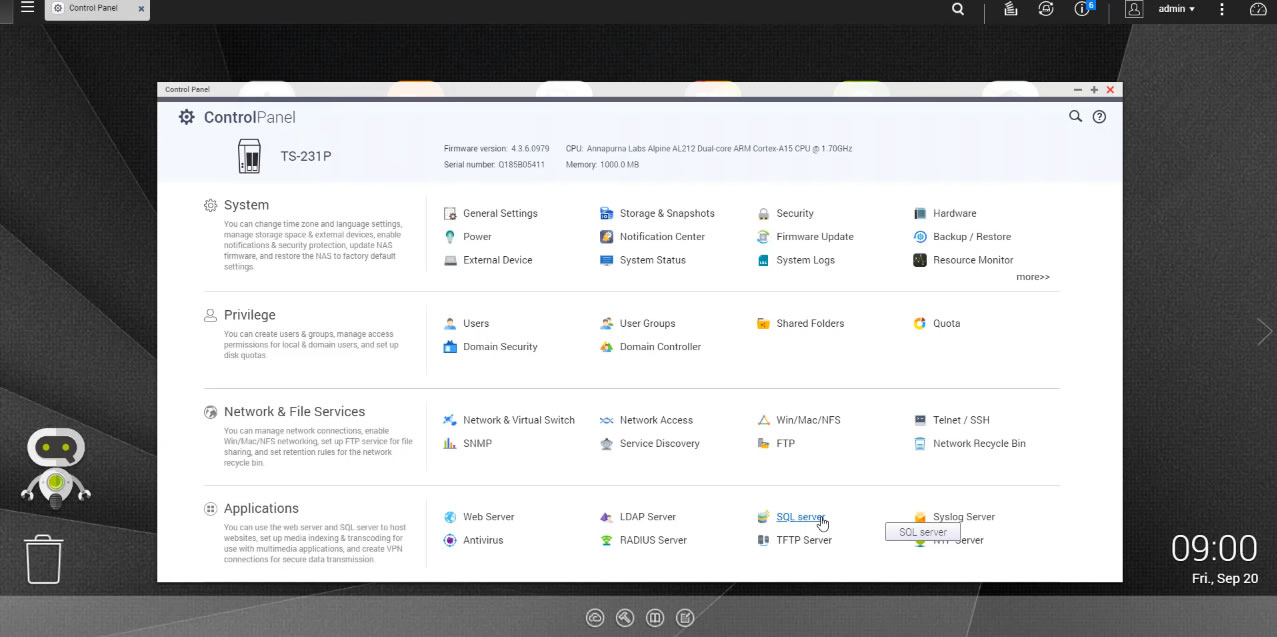
In the Applications section, select "SQL Server".
Set a checkmark next to "Enable SQL Server" and "Enable TCP / IP Network". Click "Apply" to activate the changes. The data will be saved, please be patient for a moment.
Second: Click "here" to install phpmyAdmin. Perform the installation by clicking on the corresponding "Install" button.
If you already have phpmyAdmin installed, skip this step.
The installation process takes a moment.
Third: Start phpmyAdmin. Enter the username and password (if these have not been changed by you, they are by default "root" and "admin"), and then click on "Go".
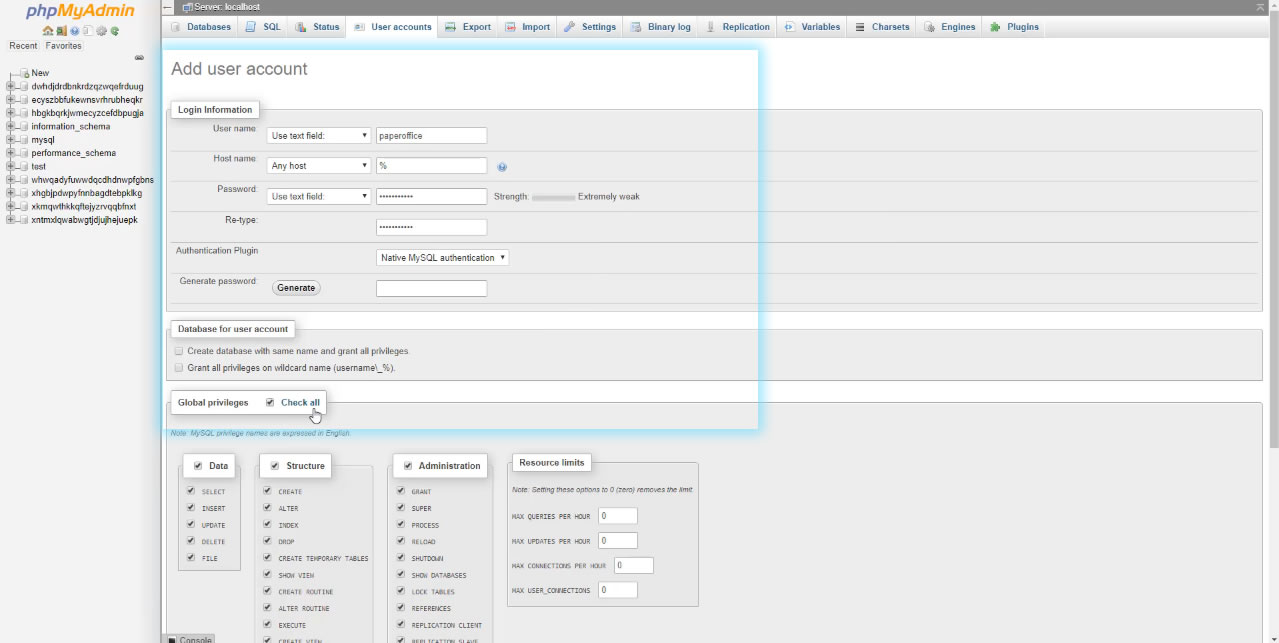
Fourth: Select the “User accounts” tab and then click “Add user account” to create the database user. This user is required only for the setup, so you can delete the user account after the full installation.
Enter as username and password “paperoffice”.
In the Global rights area, select “Select all” and confirm the entry by clicking on “Go”.
Fifth, start now your PaperOffice and click “Continue” to connect to a database.
Then select "Start Database Manager".
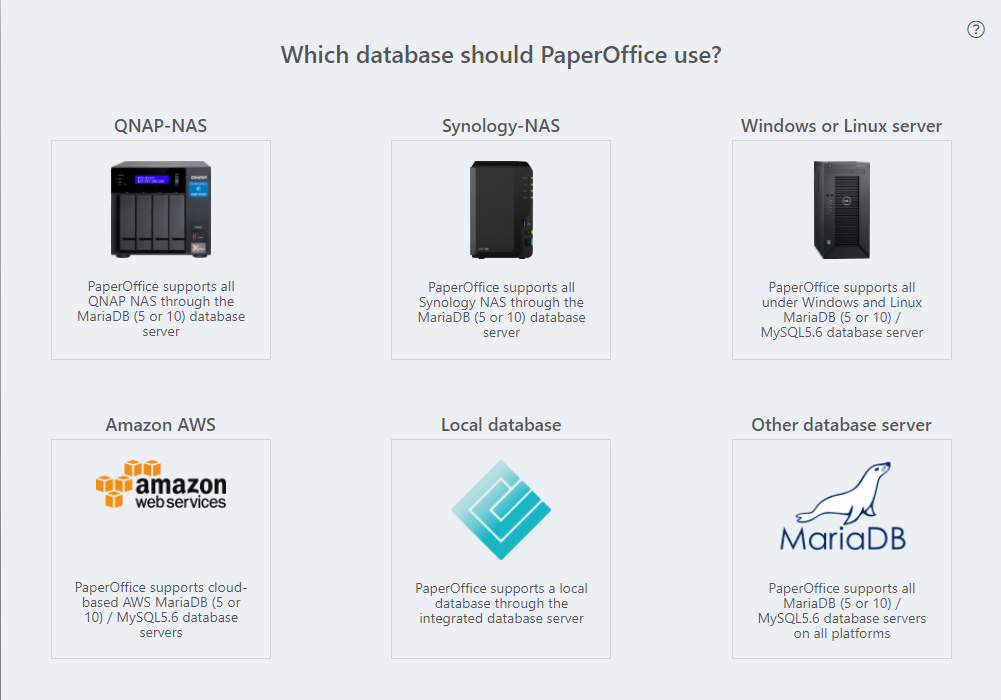
In the next step, select the storage medium "QNAP NAS" and click on the corresponding image.
Now select "Create new PaperOffice Database" and enter the IP address of your QNAP NAS in the corresponding area in the following step.
Then click on "Check information, save and continue".
The new PaperOffice database will be created. The process takes a moment.
The next step is to generate the unique Master Keys for the database you just created.
Save them carefully.
After both keys have been saved, click on "Everything ready :) Now we can proceed".
A new database has been created and you are connected to it.
Click "Continue" to sign up.
PaperOffice now uses the newly created SQL database for the entire storage. This completes the setup.